
Tuesday, 27 January 2009
Always Love You

I'll Be Yours
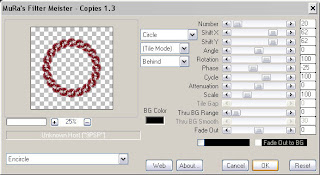 Click Ok, Adjust-Sharpness-Sharpen, using your magic wand select inside the frame you have just made, Selections-Modify-Expand by 5, Open paper of choice, I used paper 5, Image-Resize to 600x600 pixels, edit-copy, paste as a new layer, Selections-Invert, Hit Delete.
Do Not Deselect, open an image of choice, edit copy, and paste as a new layer, again Hit delete to remove any parts that stick outside of your frame background. Selections-Select None. Add a dropshadow to your image, I used 3-3-34-3 Black.
Right Click on your frame layer in the layer palette, Layers-Arrange-Bring To Top, Make sure your frame layer is active, Open another image of choice, edit-copy, paste as a new layer, i resized mine by 80% and position, add a dropshadow of choice, I used 5-5-57-14.85 Black.
Add any other elements of choice from the kit.
Make the background layer active, Open paper of choice, I used paper 9, Image-resize 600x600 pixels, edit-copy, paste as a new layer onto your tag, Layers-Load/save mask-from disk, WSL_Mask159. Back to your layer palette, right click your mask layer, Layers-Merge-Merge Group.
Add your wordart of choice.
Add your name and copyright.
Save as .png or .jpg however you prefer.
I hope you found this tut easy to follow,
Any problems please let me know.
I would love to see your results.
Luv Jo.xx.
Monday, 26 January 2009
Valentine Goddess
My 4th Award

Sunday, 25 January 2009
Crazy In Love
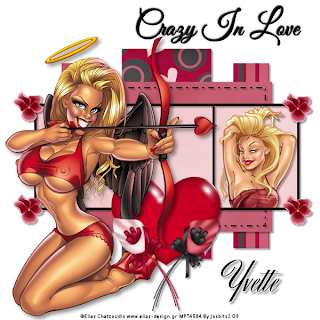
Any problems please let me know.
I would love to see your results.
Luv Jo.xx.
Friday, 23 January 2009
OMG Wow More Awards The Same Day...

My First Award
 I received this amazing award from my lovely friend Lynn of Poundstore Scraps,
Thursday, 22 January 2009
All You Need Is Love
A Lil Bit Loved


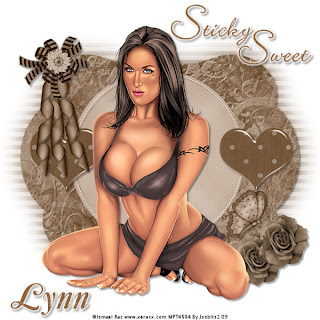
Sweet Chocolate
Wednesday, 21 January 2009
Hearts Desire
Tuesday, 20 January 2009
Tag Made With My Tut
I Love You Sweetheart
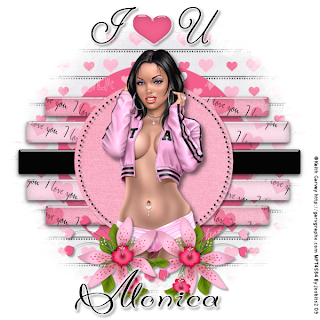 Supplies Needed:
Image of choice-I am using the awesome work of Keith Garvey which you can purchase here
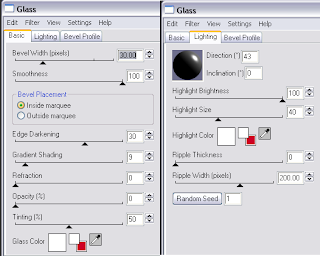
Activate Raster 2 and apply Eye Candy 5 Impact - Glass using these settings:

Sweet On You
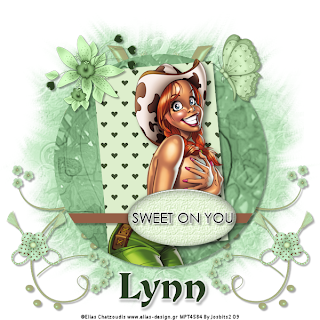
Scrapkit FTU Envy By Lynn at Poundstore Scraps here

any problems please dont hesitate in letting me know,
I would love to see your results.
Luv Jo.xx.
Monday, 19 January 2009
Dottie Love
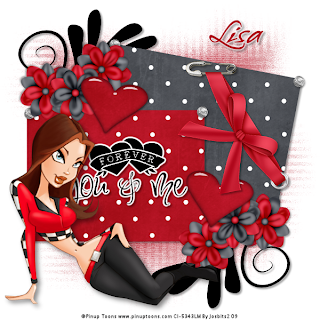
Template DBA_Valentine Template 10 By Designs By Ali here
Open Image of choice, edit-copy, and paste as a new layer, I resized mine by 80%, add dropshadow of choice, I used 5-5-47-12.87-Black.
Add any other elements of choice from the kit.
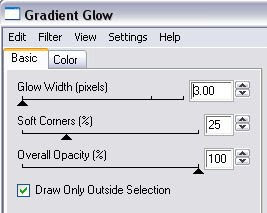
Add wordart of choice or the one I used from Lisa's Creative Clutter...Too, I also added a gradient glow of 3 white (fat setting). and dropshadow 3-3-34-4 Black.
Dropshadow all layers excepy those already dropshadowed and the hearts layer as it doesnt need it.
Activate Raster 6, Open FI_A Little Dottie Paper 1, edit-copy, Paste as a new layer, Layers-load/save mask-from disk, WSL_Mask81, Delete black mask layer ,click yes, Layers-merge-merge group,
Add your name and copyright.
Save as a .png or .jpg however you prefer.
I hope you found this tutorial easy to follow,
any problems please dont hesitate in letting me know,
I would love to see your results.
Luv Jo.xx.
Friday, 16 January 2009
Lollipop Love
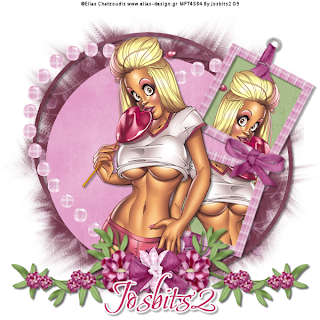
Supplies needed:
Tube of choice- I am using the fantastic art of Elias Chatzoudis you can purchase Here
Scrap kit is FTU called Dusky Days By Frosted Illusions Here
Mask WSL_Mask241 By Weescotslass Here
Template DBA_Template125 By Designs By Ali Here
Font I used is MoonDanceTwo
Plugin:
Lokas Software - Gel
O.K Let's Go
Open your template layer and SHift D to duplicate, Image-canvas size 600x600 (all layers ticked), Delete original template layer, back to duplicated template and delete the copyright layer, Layers-new raster layer, Selections-select all, floodfill white. Layers-arrange-send to bottom.Select Raster 2 layer, Selections-select all, Selections-float, Selections-defloat, Open paper FI_DuskyDays Paper2, edit-copy, paste as a new layer onto duplicate template, Selections-invert, Hit delete, Selections-select none. Delete Raster 2 layer.
Do the same for copy of Raster 2 layer, then delete copy of Raster 2.Select Raster 1, Selections-select all, Selections-float, Selections-defloat, Open FI_Dusky Days Paper1, edit-copy, paste as a new layer onto template, Selections-invert, hit delete, Selections-select none. Delete Raster 1 layer.
Do the same with Raster 3 using FI_Dusky Days Paper4, but I resized this paper to 500x500 pixels before pasting as a new layer.Make Raster 1 the active layer, Open image of choice and paste as a new layer I resized by 85%, add dropshadow of choice I used 3-3-34-3 Black,
Select Raster 6, Selections-select all, float,defloat,selections invert, select raster 3, using the eraser tool delete any parts of your image that overhangs from Raster 6, Select None.
Add a dropshadow to Raster 6, 2, 5.
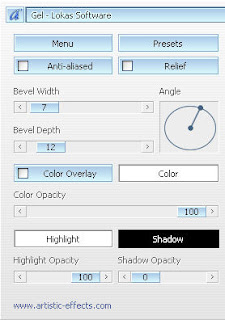
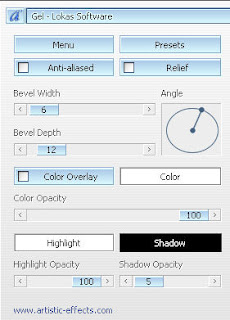
Activate Raster 1, effects plugins - Lokas Software - Gel, with settings shown below.

Add dropshadow.Select Raster 4, Open FI_Dusky Days Paper5, resize 600x600, edit-copy, paste as a new layer, Layers load/save mask from disk, WSL_Mask241, Delete Black Mask layer, select yes from popup box, Layers-Merge-merge group.
Select Raster 1, Open FI-Dusky Days Frame2, resize (pixels) length 600 pixels, then resize again by 80%, paste as a new layer onto tag, Image free rotate 35degrees right, all layers NOT ticked. move to the right slightly.
Using magic wand select inside the frames, selections-modify-expand by 3,Open FI_Dusky Days Paper6 resize to 400x400, edit-copy, paste as a new layer onto tag, move across so that the paper covers the inside of both frames, Selections-Invert, delete, select none.
Move this layer below the frame layer. You can now add parts of your orginal Image to the frame or another image,
Add any other elements of choice to the tag.
Add your name and copyright.Save as .png or.jpg or however you prefer.
I hope you found this tutorial easy to follow,
any problems please don't hesitate in letting me know.
I would love to see you results.
Luv Jo.xx.
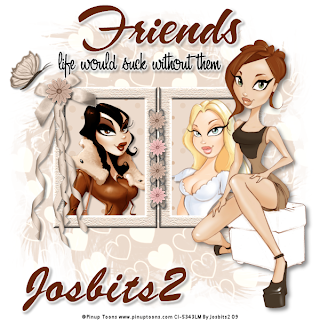
Just Friends
Kiss Kiss Cupid
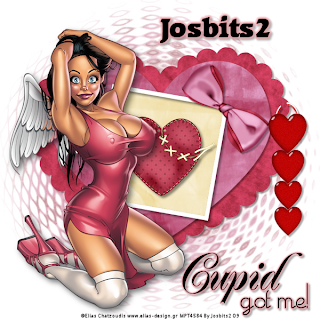
Supplies needed:
Tube of choice- I am using the fantastic art of Elias Chatzoudis you can purchase Here
Scrap kit is FTU called Kiss Kiss By Bel Vidotti Here
Template Bittersweet Designs #17 Here
Mask WSL_Mask14 By Weescotslass Here
Heart Hanger Freebie By Pearl Here
Wordart by Lisas Creative Clutter Here
Font I used is RowdyHeavy
O.K Let's Go
Open Template Shift D to duplicate and close original template layer. Go to Image-resize by 80% make sure resize all layers IS ticked. Delete the copyright layer. Activate Raster 1, go to Image-Canvas Size 600x600 -placement centre. Click Ok. Selections-Select All, Floodfill White.
Activate Raster 2, Selections-select all, Selections-float, Selections-defloat, Open paper kkp03 - edit-copy, back to template image and paste as a new layer, Selections-invert, hit delete on keyboard, Select None. Dropshadow 3-3-34-3 Black. Delete Raster 2.
Activate Raster 3, Selections-select all, Selections-float, Selections-defloat, Open paper kkp06, edit-copy, back to template tag and paste as a new layer, Selections-invert, delete, Select None. Drop shadow same settings. Delete Raster 3.
Activate Raster 4, using magic wand, select inside the frame, Selections-modify-expand by 2, Open paper kkp08, edit-copy, back to tag and paste as a new layer, Selections-invert, delete, Select None. move this layer below the frame (raster 4), activate raster 4 and apply dropshadow 4-4-43-6 Black.
Make Raster 3 active, Open element kke38, Image resize 40%, edit-copy, paste as a new layer, see my tag for placement, dropshadow 4-4-43-6 Black.
Make raster 4 active and paste image of choice as a new layer, Dropshadow 5-5-53-15.84 Black.
Delete Raster 5 and 6, If like me you wish to add your own wordart.
Add any other elements of choice, I added a heart hanger which is free to download from Pearls blog, and a bow from the kit.
Open paper kkp26 from the kit, Image resize (Pixels) 600x600, edit-copy, back to tag, activate raster 1, and paste as a new layer, Layers load/save mask from disk WSL_Mask14, Delete mask-raster 10, hit yes in popup box, merge-merge group.
Add Name and copyright and save as .png or.jpg or whatever you prefer.
I hope you found this tutorial easy to follow, any problems please don't hesitate in letting me know below.
I would love to see you results.
Luv Jo.xx.
Ruby Valentine
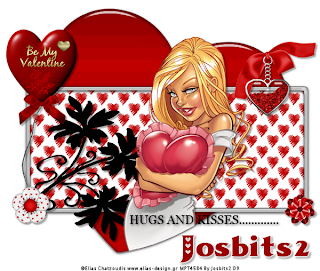 Supplies needed:
Tube of choice- I am using the fantastic art of Elias Chatzoudis you can purchase Here
Plugins.
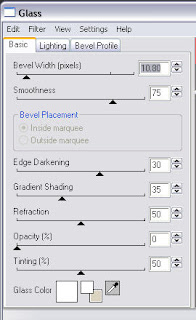
Alien Skin Eye Candy 5 Impact - Glass.
O.K Let's Go...
Open your template "Shift D" to duplicate close off the original, delete the copyright layer. Go Image Resize-Change the pixel dimension setting to pixels and width to 600. Make sure lock aspect ratio is ticked, and Resize all layers is ticked, Apply.Layers New Raster layer, select all and floodfill white. Select none, layers arrange - send to bottom.
Open paper 9 from the kit and resize to 20%, edit-copy, back to tag and make raster 1 the active layer, Selections-select all-float-defloat, paste paper 9 as a new layer, selections invert- hit delete on your keyboard, select none. Delete raster 1 layer.
Open paper 5, resize by 20%, then resize again by 80%, back to tag, make raster 2 the active layer, again selections - select all-float-defloat, paste paper 5 as a new layer, selections-invert, hit delete, select none. Delete raster 2 layer.
Select raster 3 and give a dropshadow of choice, I used 3-3-34-3 Black. then repeat dropshadow but change Horizontal and Vertical to -3.Open image of choice and paste as a new layer, I resized by 80% and gave a dropshadow of 3-3-34-3 Black.
Select Raster 8 Selections - select all, Selections - float, Selections - defloat, Selections -invert, activate your image layer should be raster 2, using your eraser tool delete any excess from the bottom of the heart. select none. Move your image down slightly to cover the line showing from the heart below. Then make raster 8 active and give a dropshadow (3-3-34-3 Black)Delete raster 5 and copy of raster 5. we aren't using these.
Activate raster 4 and dropshadow 3-3-34-3 Black.Make raster 6 the active layer, Open flower1.png and resize by 20% and paste as a new layer, I placed mine bottom left, see above for placing. Adjust - Sharpness - Sharpen, add dropshadow.
Open your Valentine Balloon, resize by 60% and paste as a new layer below your flower layer, move the balloon to the left so the end of the string is being held by the flower. Adjust-Sharpness-Sharpen, add dropshadow 3-3-34-3 Black.
Make Raster 3 active - apply your plugin Alien Skin Eye Candy 5 Impact - Glass with these settings.
Click Ok.
Activate raster 8 and apply glass plugin again changing the Bevel width to 13.85, Click Ok.
Add any other elements you wish.
Add your name and copyright and save as .png or .jpg as you prefer.
I hope you found this tutorial easy to follow, any problems please don't hesitate in letting me know.
I would love to see you results.
Luv Jo.xx.
Be My Valentine
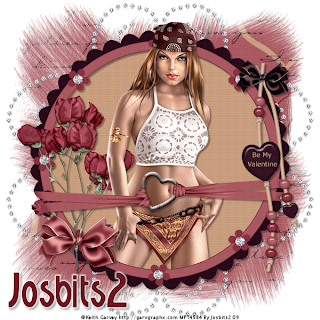
Tube of choice- I am using the fantastic art of Keith Garvey you can purchase Here
Peachie Beauty
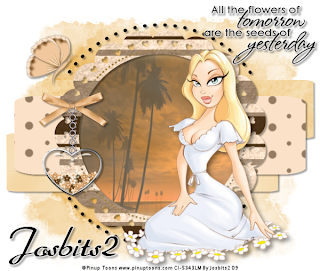
Font I used is FTU Dahrlin Here
Select the large rec layer and as previous layers select all, float, defloat,Open paper of choice this time I used paper 4.edit>copy, back to working image and paste as a new layer, selections invert, delete, select none. Add dropshadow as above.


