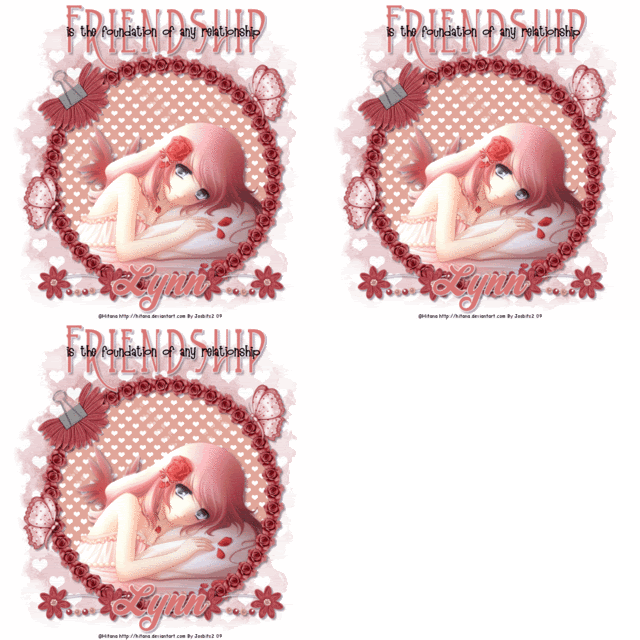
Supplies Needed:
Image of choice, Im using the FTU artwork of Hitana, you can visit her here
Scrapkit PTU - Champagne By Lynn @ Poundstore Scraps here
Wordart-quotes1 By Babes Designz here
Mask#22 By Becky Available here
Plugins Needed:
Mura's Meister - Copies here
Ok Lets Go
Open a new white image, 600x600 pixels, Open a flower of choice from the kit, I used rose 2, edit copy, paste as a new layer onto your image, Image-Resize 10%, Effects - Plugins- Mura's Meister-Copies with these settings:-
Using your magic wand, select inside your flower frame, Selections-Modify-Expand By 3, Open paper of choice I used paper 6, Image-Resize 250x250 pixels, Effects-Image Effects-Seamless Tiling, these settings:-
Minimise your paper, Set your foreground colour to pattern, Angle =0 Scale =100 select your minimised paper from the pattern options. Layers-New Raster Layer, Floodfill with your foreground pattern. Selections-Select None. In your layer palette, move this layer below your frame.
Open Image of choice, edit-copy and paste as a new layer, position how you prefer, Add a dropshadow of choice, I used 4-4-43-8.91 Black. Move this layer below your frame, and delete any overhang.
Select your flower frame layer, Adjust-Sharpness-Sharpen, add a dropshadow of choice, I used 3-3-34-3 Black.
Add any other elements of choice from the kit.
Add any wordart/text you wish.
Select white background layer, Open paper of choice, i used paper 5, Image-Resize 600x600 pixels, edit-copy, paste as a new layer, Layers-Load/Save Mask-Load Mask From Disk-Becky Mask022, Layers-Merge-Merge Group. I reduced the opacity of this layer to 61 in the layer palette.
Add name and copyright.
Save as .png or .jpg however you prefer.
To Animate:
Select your mask layer and duplicate it twice, for a total of three layers.
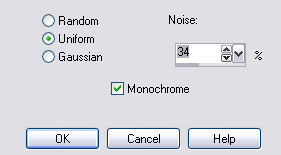
On your top mask layer, Adjust Add/Remove Noise - Add Noise, these settings:-
Repeat with middle mask layer, but change Noise % to 37, and on the bottom mask layer to 40.
Close off the bottom two mask layers, Edit-Copy Special-Copy Merged,
Open Animation Shop, Paste as a new animation, back to psp, close your top mask layer, Open your middle mask layer, Edit-Copy Special-Copy Merged, Back to Animation Shop, Edit-Paste-After Current Frame, Repeat but this time open your bottom mask layer.
Save as .gif.
I hope you found this tut easy to follow.
I would love to see your results.
Luv Jo.xx.


No comments:
Post a Comment